Blog
Secure your Synology with https/SSL certificate from Let's Encrypt

By Styliani Meletiou – Systems Consultant
Nowadays, more and more challenges in the internet world arise regarding cybersecurity and data privacy. Factors such as personal information should be taken seriously and should be treated responsibly and with great caution by users, especially when it comes to sensitive data like passwords, card information etc. Protecting and securing personal and sensitive data from malicious attackers is crucial and of significant manner. The previously mentioned issues can easily be configured, thus, discarded by securing your Synology with https/SSL certificate from Let’s Encrypt.
It is of great importance for all users to comprehend the differences between an HTTP and HTTPS protocol. Firstly, HTTP stands for Hypertext Transfer Protocol whereas HTTPS stands for Hypertext Transfer Protocol Secure. Secondly, as indicated by their acronyms, HTTPS is a secure protocol that uses a TLS/SSL certificate to guarantee authentication. By this means, this primary difference makes the HTTP protocol not as secure. Moreover, when trying to access Synology through an HTTPS website, all the data between your device and the Synology Network Attached Storage (NAS) will be encrypted. For instance, websites of government institutions or banks have a digital identity certificate to allow the user’s device to know whether the organization is the actual owner. Analogously the user needs this digital identity certificate as well, which can be easily created from Let’s Encrypt. By this mean, the data transferred between the organization’s server and the user’s device from a HTTPS website is encrypted and can be seen, read, and modified by the two ends only.
Finally, when HTTPS is enabled on your Synology NAS connecting to services on DiskStation Manager (DSM) will be encrypted via SSL/TLS. The compliance of an end-to-end encryption guarantees data encryption by the sender and data decryption by any kind of receiver, even the service provider. Consequently, your data can be protected from all types of intrusion.
If desired, follow these steps on how to set up HTTPS with certificates from Let’s Encrypt.
Prior to the creation of a certificate from Let’s Encrypt, a domain name should be registered. If a domain name is already registered, skip the following steps (Step 1-3). If not, follow the below steps to get it registered.
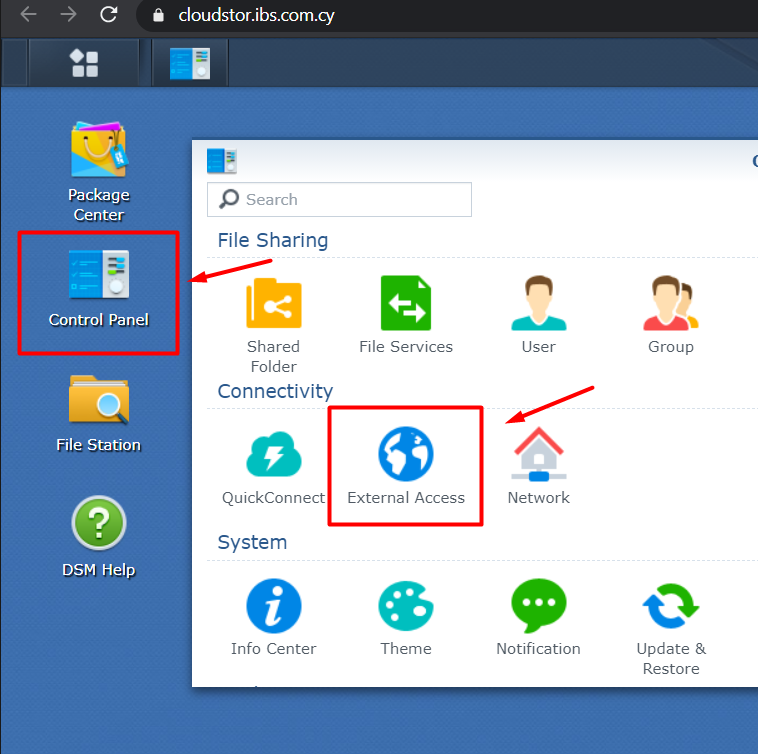
- To register your domain name, go to Control Panel -> External Access.
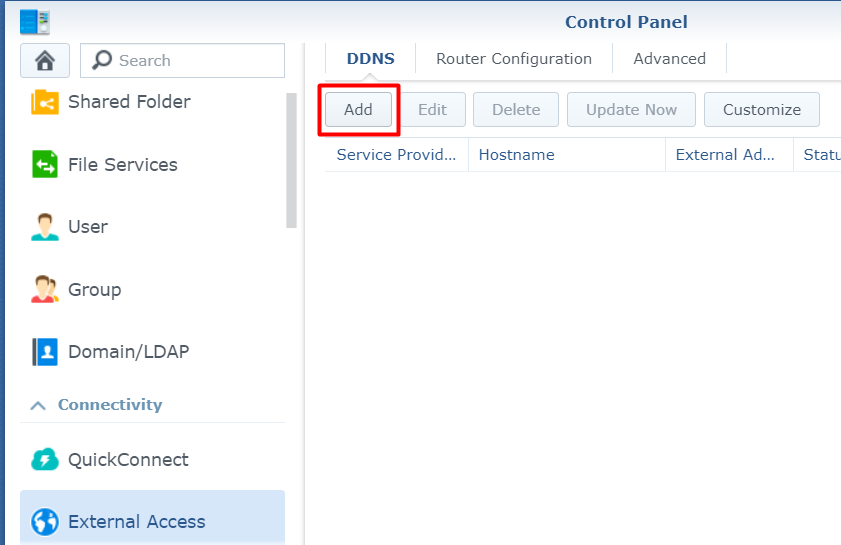
- Under DDNS, click ‘Add’.
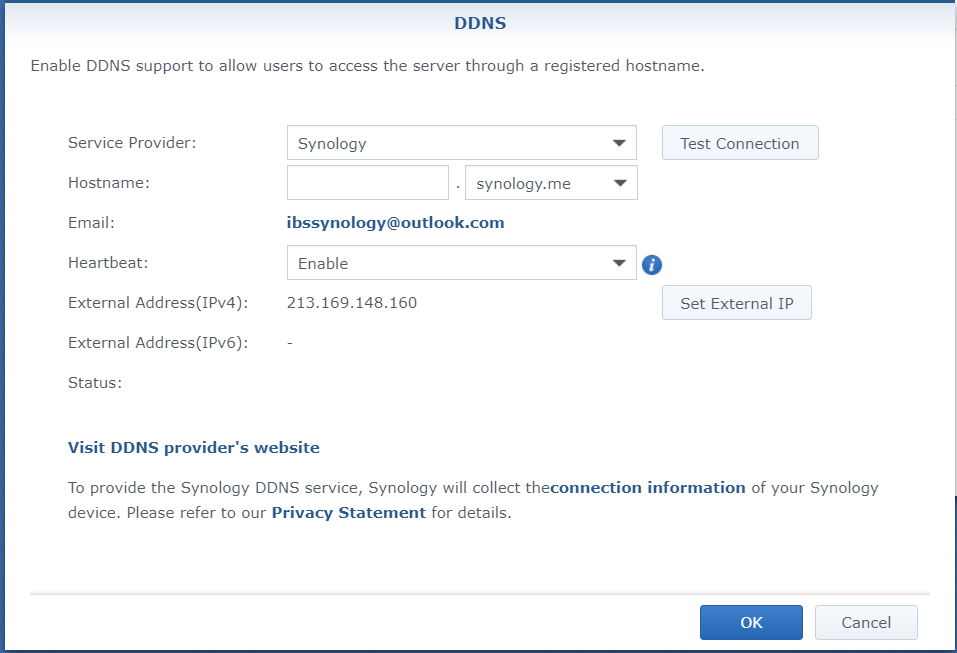
- Select Synology as a Service Provider and under hostname type your domain name.
Follow the below steps to get a certificate from Let’s Encrypt.
- Open Control Panel -> Security -> Certificate and click ‘Add’

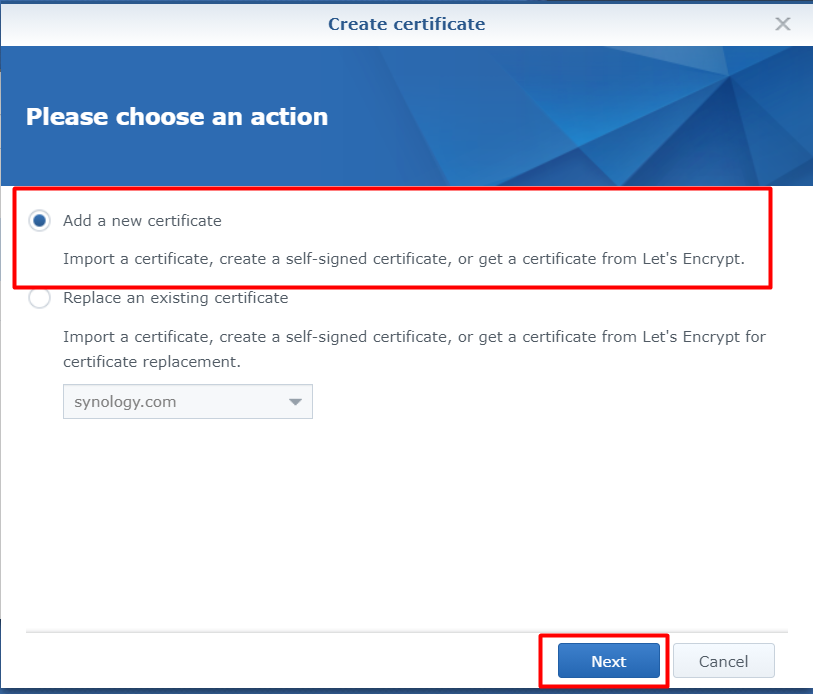
- Select ‘Add a new certificate’
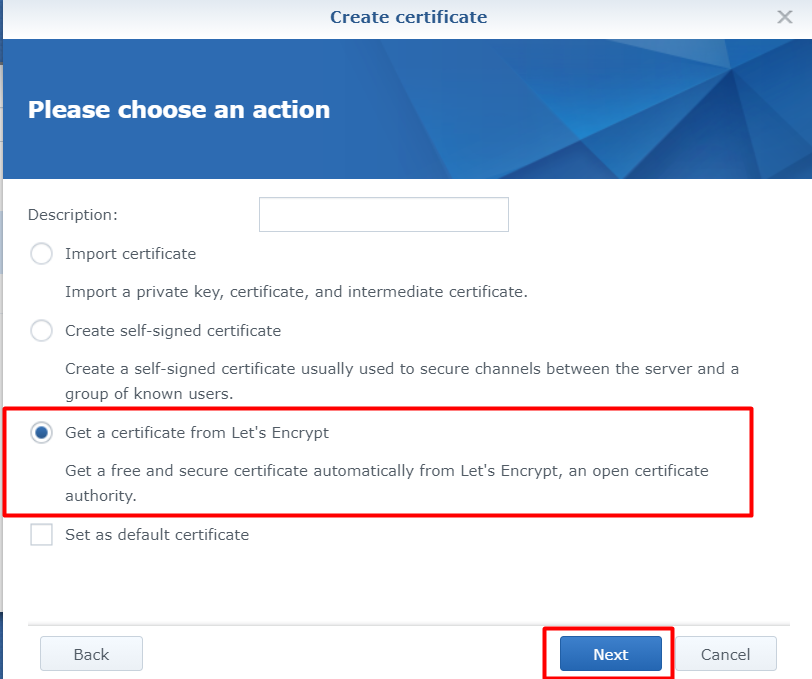
- Select ‘Get a certificate from Let’s Encrypt’
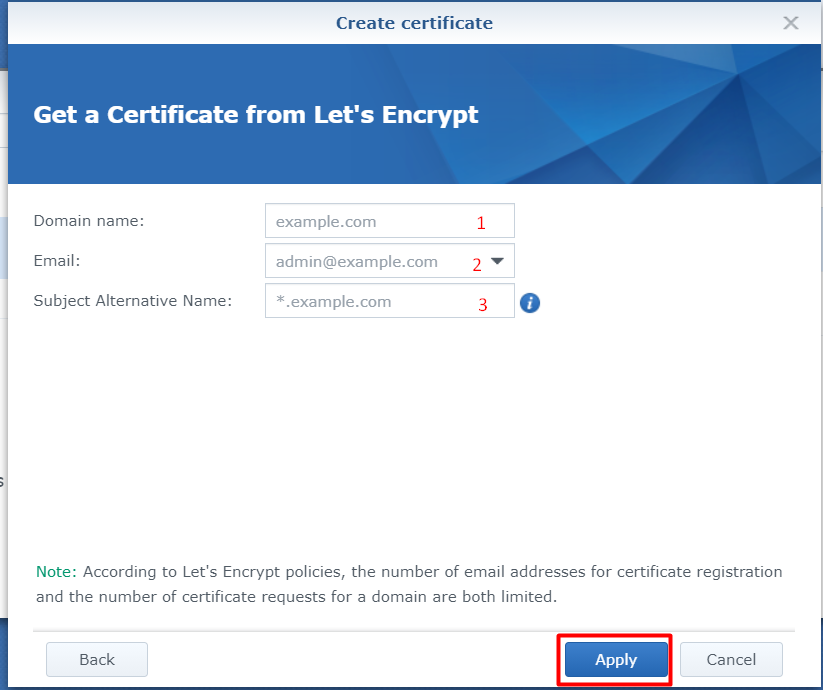
- Fill the below details with your registered domain (1), email address (2), and your old DDNS address (3) and click ‘Apply’
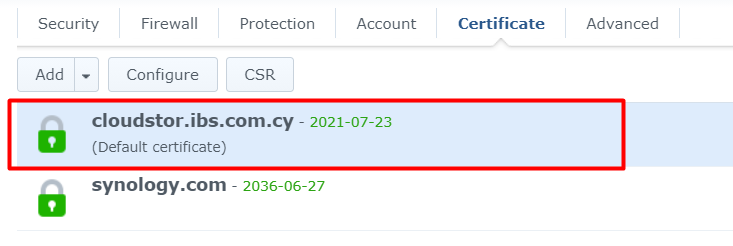
- Now, your new certificate will be added as the default certificate
- Lastly, you will need to enable HTTPS.
- Go to Control Panel -> Network -> DSM Settings -> Tick the ‘Automatically redirect HTTP connection to HTTPS and click Apply

- Once the settings have been changed, you can connect to DSM through HTTPS.